Barrel Removal | Stocks with Traveller Conversion
Removing and replacing the barrel on your Schultz & Larsen rifle
with the Traveller Conversion.
Please See Barrel Removal for Standard Stock for details on regular stocks.
We also have a Video of the Classic Synthetic Barrel Removal available.
Barrel removal and barrel fitting has been made extremely quick and easy with the Schultz & Larsen Traveller System. You can follow the process below on fitting a barrel to the rifle. Removal of the barrel, please use the opposite steps.
Step 1:
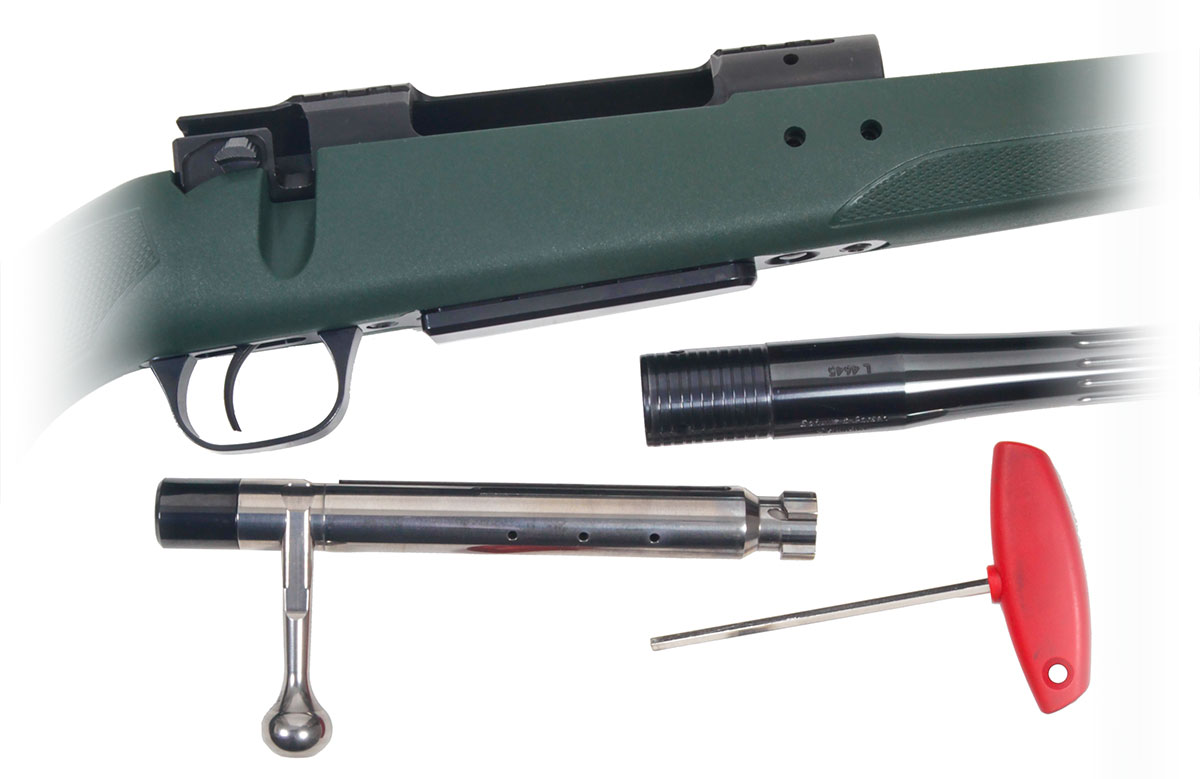
Take your rifle and make sure there are no obstructions in the forearm barrel channel or action. Notice how the barrel channel is wider nearer to the action and tapers out. This is to allow plenty of movement when fitting the barrel.
Clean any oil or grit from the barrel collar as this will affect accuracy.

Step 2:
Place the barrel
into the barrel channel. Notice on this picture the barrel channel allows you to insert the barrel and allows plenty of movement once it's in.
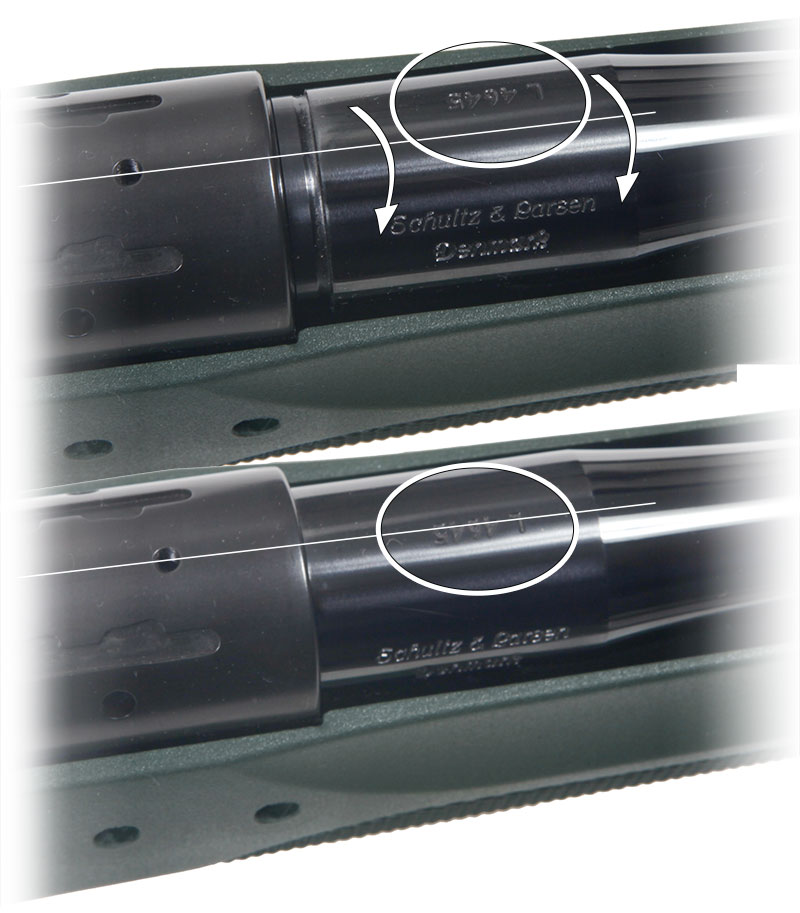
Slide the barrel into the action. There is a tenon inside of the action and the barrel collar locates into this when it's in the correct place.


Quick Tip
The tenon inside the action is located at the bottom. For quick alignment use the barrel's serial number as a reference point. This will always be positioned at the top when it lines up with the tenon.
You'll be able to feel and hear it drop fully into the action also, but this alignment saves you rotating the barrel around before the barrel is fully engaged.
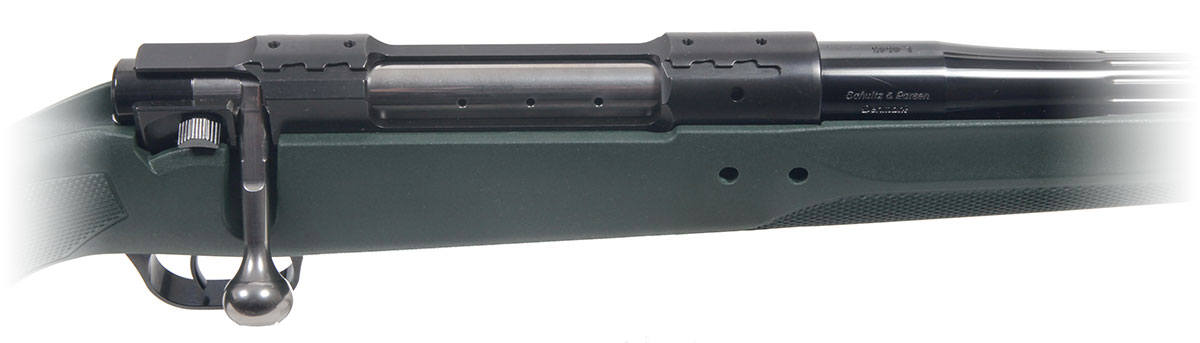
Once the barrel is fully in place, you can close and lock the bolt which sets the correct head space. YOU MUST ALWAYS CLOSE THE BOLT BEFORE TIGHTENING THE BARREL SCREWS.
Step 3:
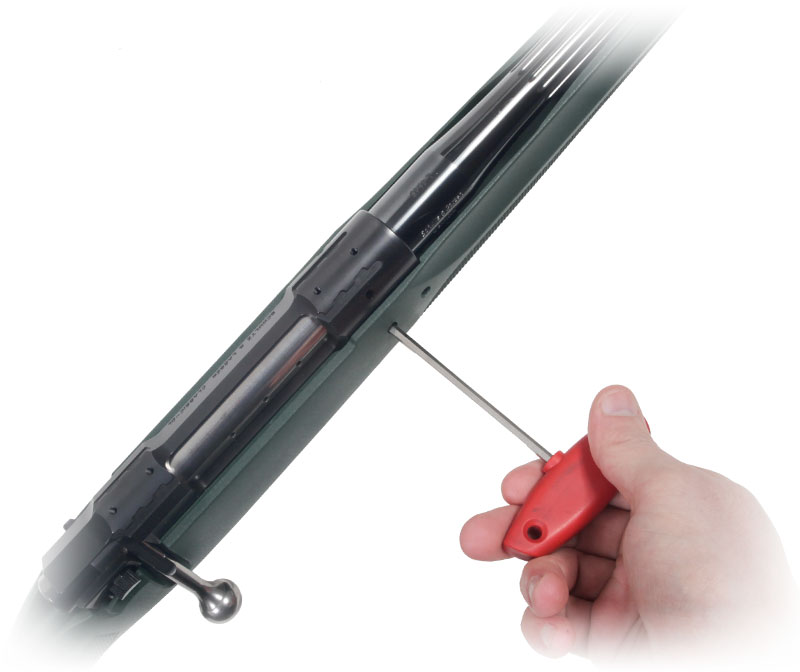
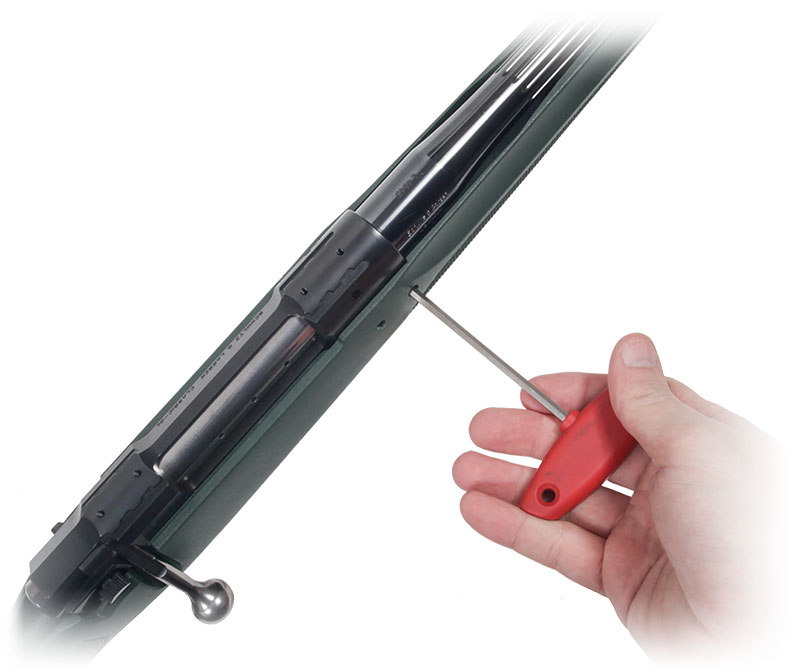
Once the bolt is closed, you can tighten the barrel screws through the two holes on the right-hand side of the stock.
Tighten the Rear Screw first. Once the screw just becomes tight, turn it another 1/8 turn to fully tighten and secure the first screw fully.
Next, tighten the Front Screw. Use the same method of tension for this screw.
(We say to add a 1/8 turn just after the screw becomes tight because not everyone has or carries a torque wrench with them)
DO NOT TIGHTEN THE BARREL SECURING SCREWS IF THE BARREL IS NOT IN PLACE.
Help and Advice
We want to give Schultz & Larsen shooters all the help and advice we can by providing information on our website. If you can't find the information you're looking for, send us an email and we will make the information available for others to see.